
Set up your gym
This page walks an admin through the first hour with AthleteOS, from the first sign-in to the first session. You can do the steps in any order, and change everything later.
Before you start
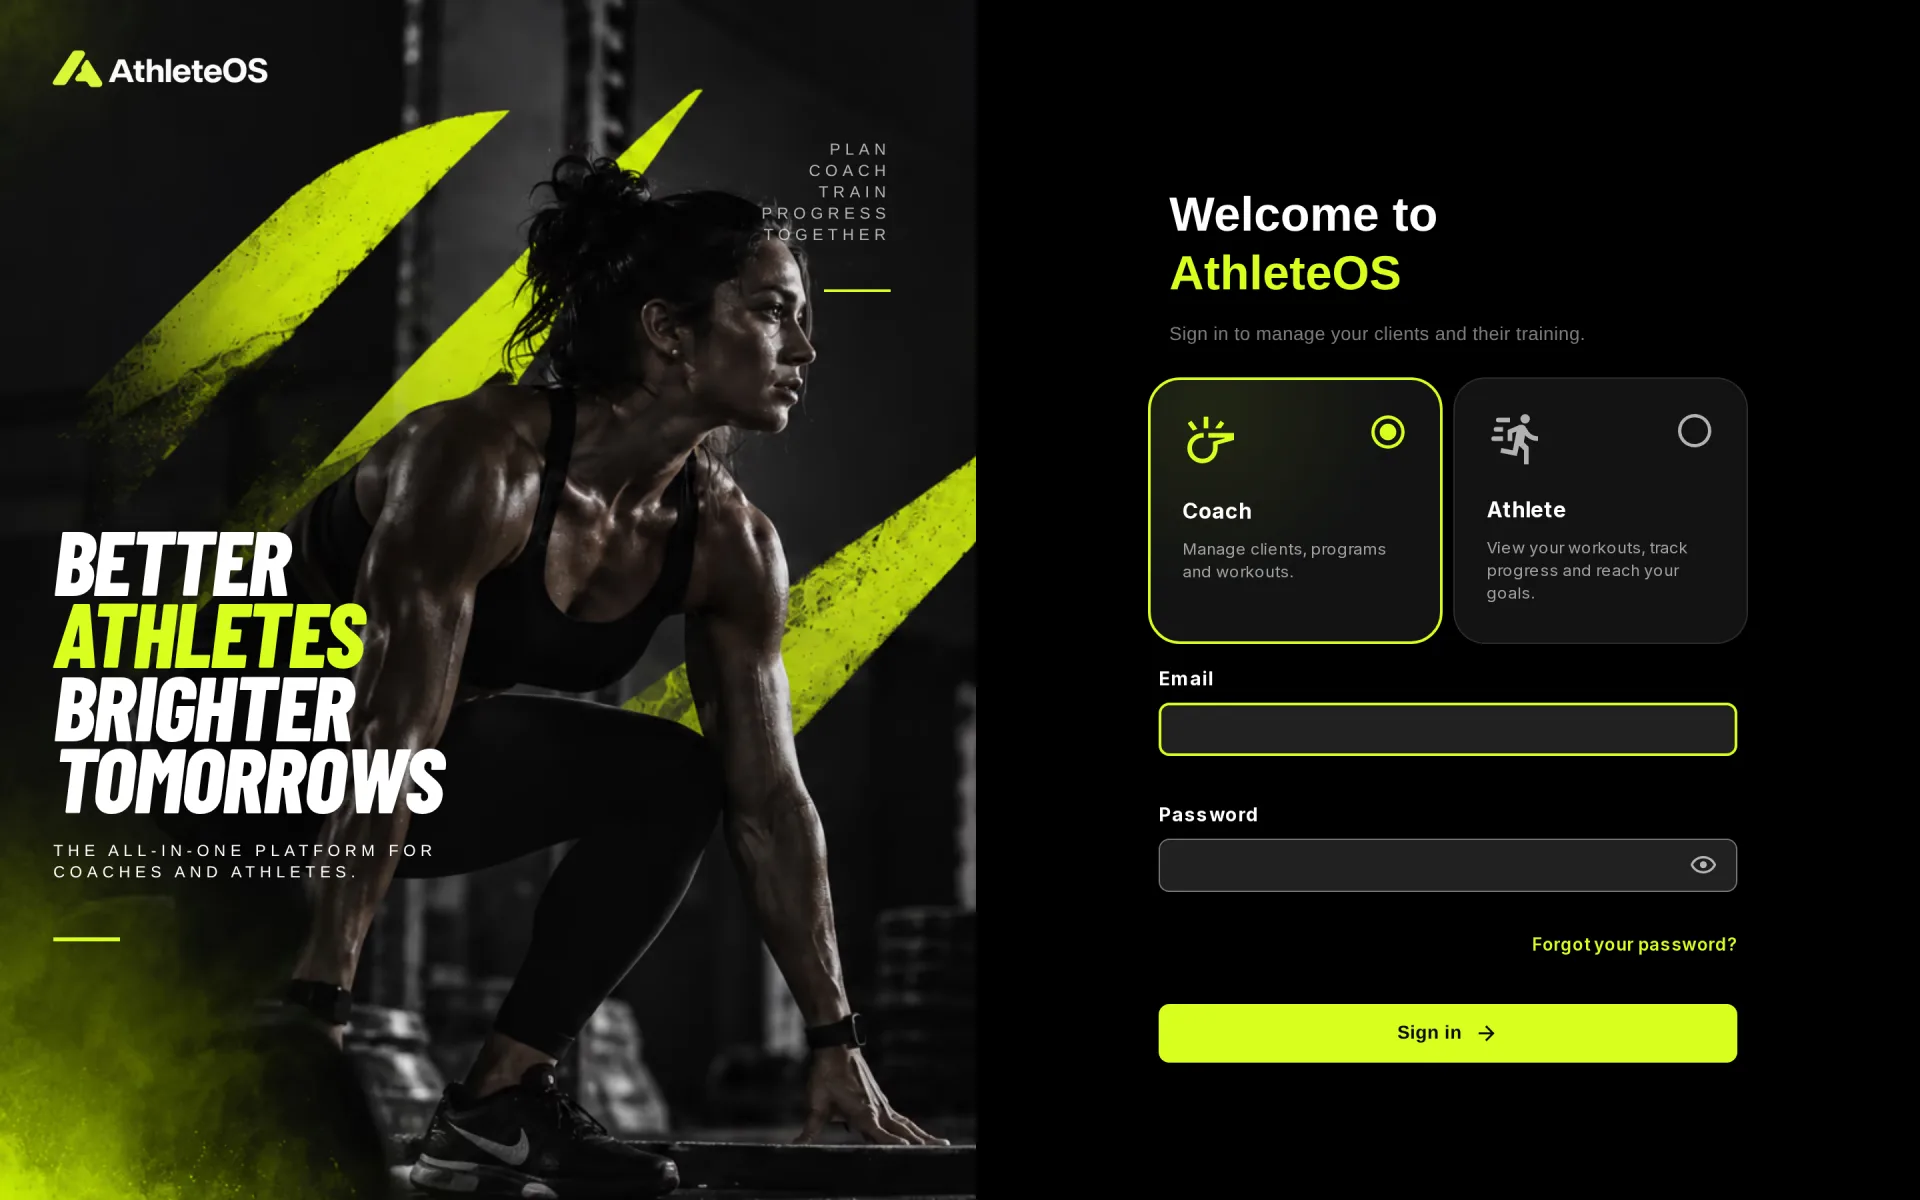
You need the address of your gym's AthleteOS and the admin account created for you. Sign in at /login, with Coach selected.
1. Set the timezone
The planning, the "now" line and when sessions count as past all follow the timezone of the gym, whatever device people use.
- Open the menu under your name, top right, and choose Settings.
- In Timezone, search for your city, e.g. "Zurich". The page shows the time it is there.
- Click Save timezone.
The default is Europe/Zurich.
2. Set your opening hours and locations
Still in Settings:
- Opening hours: turn each day on or off and set its hours. The planning shows these hours, and AthleteOS warns you when you schedule something outside them. You can copy the hours of one day to others.
- Locations (Club plan): add the places where sessions and classes happen, like "Studio A" or "Outdoor track", and pick the default one.
- Closures: add public holidays and other days the gym is closed.
Details in Settings.
3. Invite your coaches
On the Studio plan and above, you can work as a team.
- In the left menu, click Coaches, then Add coach.
- Enter their name and email, and choose Coach or Admin.
- Click Invite coach.
They receive an email to choose their password. The link works for 7 days. See Coaches and rights.
4. Look through the exercise library
Your gym starts with a library of about 120 common exercises, most with a short demonstration video, and 5 ready-made workouts, such as "Lower Body Strength" and "Core".
- Open Exercises to see the library, and add your own. See Exercise library.
- Open Workouts to adjust the starter workouts or build new ones. See Workouts.
5. Add your clients
- In the left menu, click Clients, then Add client.
- Fill in at least their Full name and Email address.
- Click Add client.
The client receives an email to choose the password of their account, then signs in to the client app. See Clients.
Tell your clients about this guide
The client section of this guide explains the client app step by step. Feel free to share the link.
6. Schedule the first session
- Click Sessions, then Schedule session.
- Pick a Workout and a Client, then the date and time.
- Click Schedule session.
The session appears on the dashboard and in the client's app. When the client trains, follow them on the Live page.
Optional: open booking
If clients should book sessions or classes themselves (Studio plan and above):
- Classes: create your group classes from Classes. Clients book the seats left from their app. See Classes.
- Session booking: in Settings › Session booking, turn on Let clients book sessions and add your booking periods. See Settings.
Optional: set up a gym tablet
A tablet at the front desk lets clients pick their name and train without their phone. See Gym tablets.